
Ever wanted to track your page views to see how long far visitors read and scroll down the page of your long-form content? Now you can with Scroll Depth Tracking. MonsterInsights has introduced Scroll Depth Tracking, indepth insights beyond a simple page view!
Track your page views, to enhance your conversion rates, perfect for bloggers who want to maximize ad space and where the best place to place affiliate links on your web pages.
With MonsterInsights you can enable advanced tracking features such as:
- eCommerce Tacking
- Forms Tracking
- FileDownloads
- Affiliate Links
- Events Tracking
This and more with, a single click. NO CODING IS NEEDED. Install MonsterInsights on each website you own, it is the most complete Google Analytics plugin for WordPress.
Scroll Depth data is used to optimize your pages for more conversions. It gives you a better picture of how your visitors are interacting with your content and helps you decide the best place for your important calls to action, ads, and more.
To install MonsterInsights in Google Analytics follow these step by step instructions then scroll down to see how to track events Google Analytics events in MonsterInsights.
Step 1: Sign In to Google
First, log in or sign up for a Google account. This is the first step, to get started, next, you’ll need to open the Google Analytics website and click the Sign in to Analytics link or Start for free button in right corner of the page.

Next, log in to your existing Google account, that you created, or click, signin or the Create account link to create a new Google account.
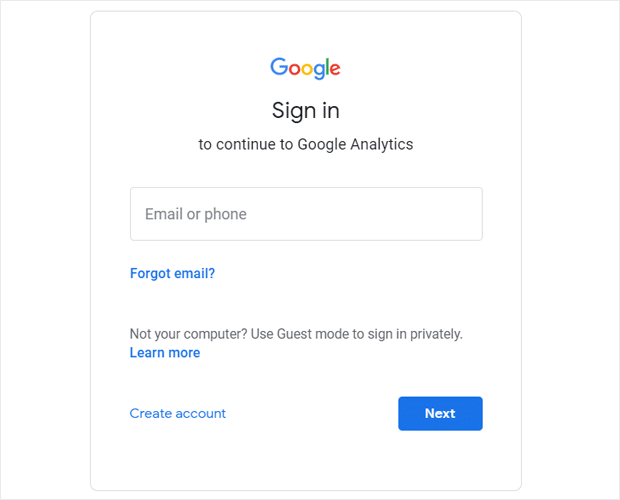
Step 2: Sign Up For Google Analytics
After signing in to your Google account, you’ll need to sign up for Google Analytics. Click the Sign Up button on the right side of the page to begin.

Next, you’ll need to enter the settings for the website you want to start tracking.
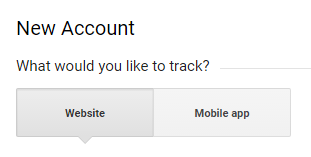
Make sure the Website option is selected at the top.
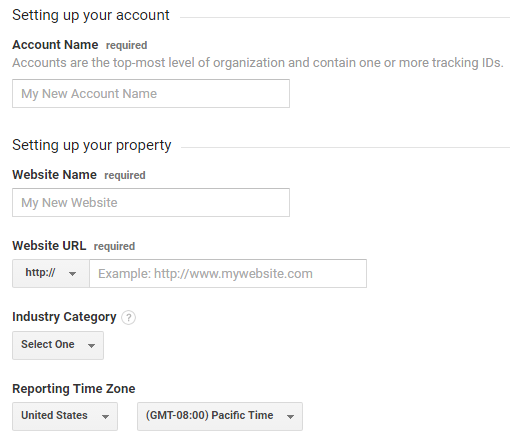
Now you can scroll down to enter your web information. You’ll need to name your Google Analytics account, and enter your website name, URL, and industry, as well as your time zone.
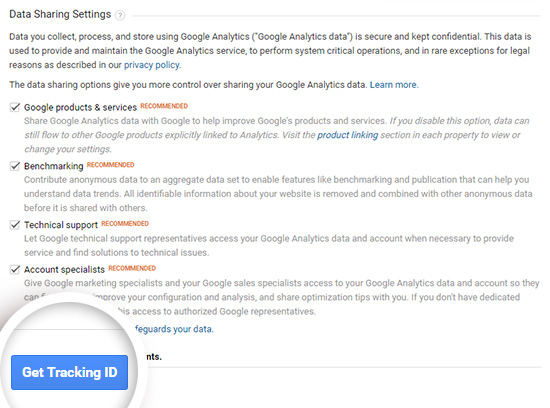
After filling in your website details, you can scroll down a bit to customize your data sharing settings. When you’re finished selecting your options, you can click the Get Tracking ID button at the bottom of the page.
In the popup window that appears, you’ll need to review and accept the Google Analytics Terms of Service and the Data Processing Terms as required by GDPR.
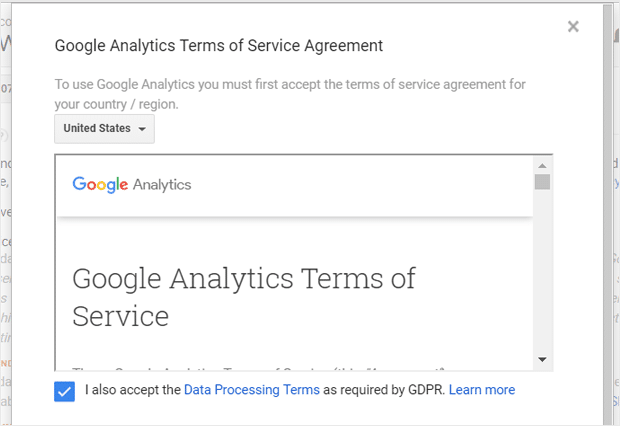
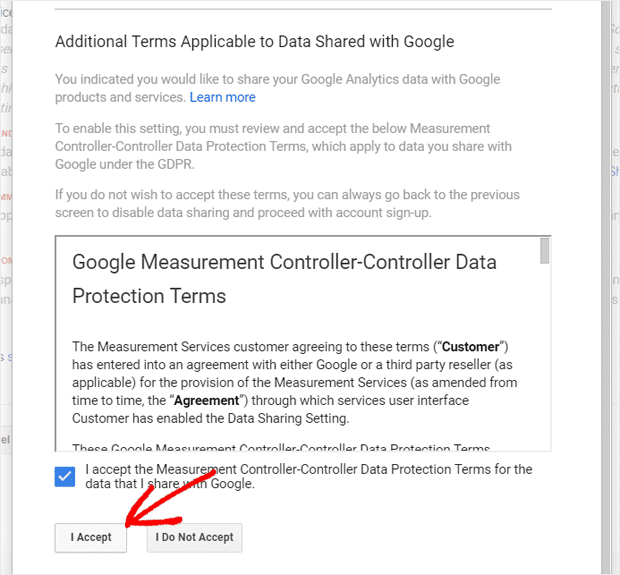
After that, you should also review and accept the Measurement Controller-Controller Data Protection Terms. Check the box stating that you accept this term, and click on the I Accept button at the end.
That’s it! You’re now signed up for Google Analytics. Next, we’ll add Google Analytics to WordPress.
Step 3: Set Up MonsterInsights
Normally, you’d have to insert your Google Analytics tracking code into your WordPress website’s code.
But with MonsterInsights, you don’t need to worry about using any code.
Instead, you can get started by downloading the MonsterInsights plugin. To do that, you’ll need to login to your MonsterInsights account and download the plugin zip file.
Once you have the zip file, navigate to the site where you want to install MonsterInsights and go to the WordPress admin dashboard.
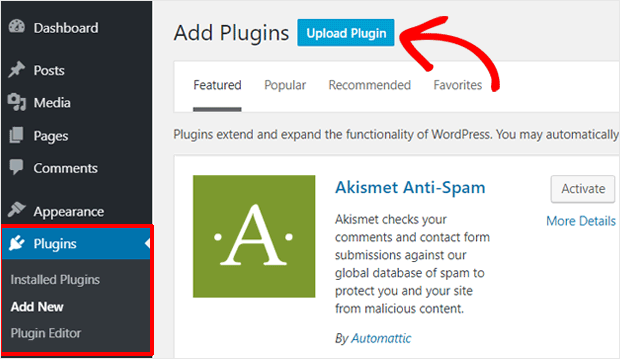
Then navigate to Plugins » Add New and click the Upload Plugin button at the top.
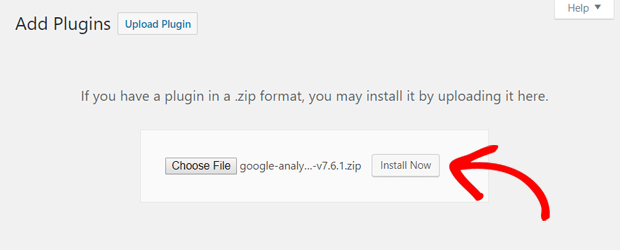
On the next screen, you can click the Choose File button to select the zip file you just downloaded. Then click the Install Now button to upload the file and install the plugin on your site.
Once the plugin has been uploaded and installed, you can click the Activate Plugin button to activate it on your site.

After the plugin is activated, the plugin setup wizard will open to guide you through the setup process step by step.
The MonsterInsights Plugin comes with scroll-depth tracking enabled by default. This means all you have to do is set up the plugin you don't need to configure any settings.
Tracking your Google analytics is easy simply ensue scroll depth tracking is enabled go to
Navigate to Insights » Settings » Engagement.
Where to Find Scroll Tracking Depth Results in MonsterInsights
Your scroll tracking stats can be found at the bottom of the MonsterInsights Publishers Report, next to the Interests section.
Where to Find Scroll Tracking Depth Results in Real-Time in Google Analytics
Step 1: Navigate to analytics.google.com and log in to the email account that the profile for your site resides in.
Step 2: When you’re logged into Google Analytics, navigate to Real-Time » Events.
Step 3: Open a new incognito window and navigate to your WordPress website and ensure you’re logged out.
Step 4: Navigate to the home page of your site.
Step 5: Scroll down the page 100%.
Step 6: Navigate back to the Google Analytics Real-Time Events area. Within a few moments, you’ll see the events that you just triggered:
You can also track and monitor second dimension behaviors for the events you label. Track these events to view the behavior on specific pages and see which ones are the most sticky.
Now easily track your events and generate analytics reports so you will know how far a person scrolls down you long form content pages, You can increase your conversions by simply having Scroll Depth Tracking to show you where your ads and call to actions are getting the most views on your website pages. Sign Up for MonsterInsights today!


0 comments: